Filled with Joy

Celebrate Christmas with fabric stockings and gift tags, all packaged in a festive holiday box! Spread Christmas cheer with this cozy, all-inclusive crafting kit! And don’t miss out on the coordinating add-on that includes a gift tag die cut.

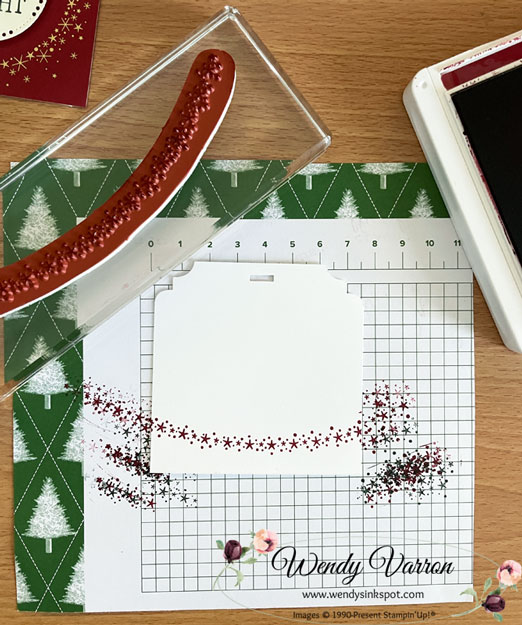
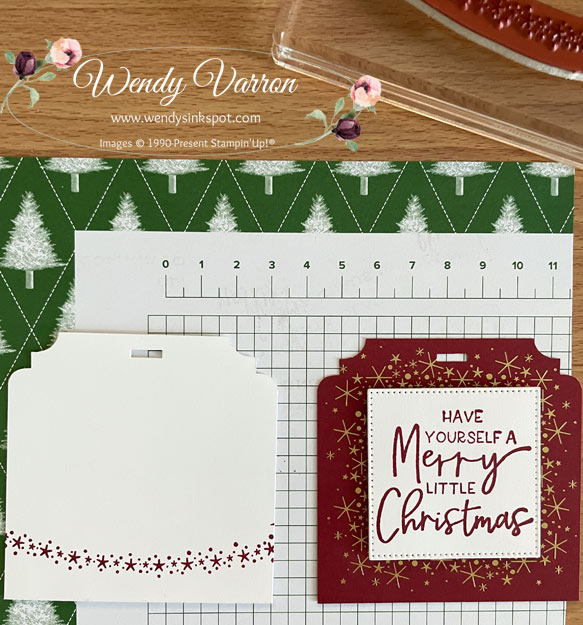
Filled with Joy Paper Pumpkin Kit
*Makes 8 projects: 8 stockings with 8 gift tags
*Exclusive Filled with Joy photopolymer stamp set
*Poppy Parade Classic Stampin’ Spot
*Precut paper pieces
*Specialty Gold Foil
Coordinating colors:
Click the button below to subscribe by November 11, 2024 to get the Filled with Joy Paper Pumpkin Kit!
Coordinating Merry Tags and More Dies

Add dimension and detail to your cards, scrapbook pages, and gift tags with the Merry Tags & More Dies! With a leaf and tag shape and Merry sentiment, these dies are a great way to expand your crafting experience. They even coordinate with three Paper Pumpkin Kits: October Nests of Christmas, November Filled with Joy, and December Notes from the Heart. You must be a current Paper Pumpkin subscriber to purchase this item.
Add-on includes:
* 3 dies
Prepaid Paper Pumpkin Subscriptions
Stampin’Up! also offers Prepaid 1 month, 3 month, 6 month or 12 month Paper Pumpkin Subscriptions which allow you to pay ahead or give as a gift. Just click the image below for the prepaid subscription of your choice.
Want to leave a comment? Please Click Here
Happy Stamping!

Want to leave a comment? Please Click Here

SHOP and SAVE: Clearance Rack
Join my Ink, Stamp & Share Team of demonstrators – click for info
Sign Up for my Customer Newsletter