Finding Inspiration Through Sketches
I love to use sketches for inspiration, they are a fantastic way to kickstart the creative process. Sketches provide a blueprint that sparks ideas and guides the design of a project. I like to save sketches to my Pinterest Board to use for inspiration. If you’d like to check out my Pinterest board for more inspiration, click Here.
Today, I’m excited to share two cards I created using a sketch as my inspiration. Below is the simple sketch that inspired these designs.

For my first card, I chose to work with the Bright & Beautiful Designer Series Paper. This 6×6 Designer Series Paper collection is full of vibrant colors and lively patterns. I selected the star patterns for the primary design element. To add a unique twist, I switched the top two panels of the Designer Series Paper from the sketch. Paired with Lemon Lolly card base and Azure Afternoon cardstock Layer really makes the colors in the Designer Series Paper pop!
I created the sentiment using the Heartfelt Hexagon and Irresistible Blooms stamp sets. First, I stamped the border in Azure Afternoon, next the Thank You in Berry Burst Ink. Then I punched it out with the Heartfelt Hexagon Punch. For the finishing touch, I added the new Rainbow Adhesive Backed Dots.

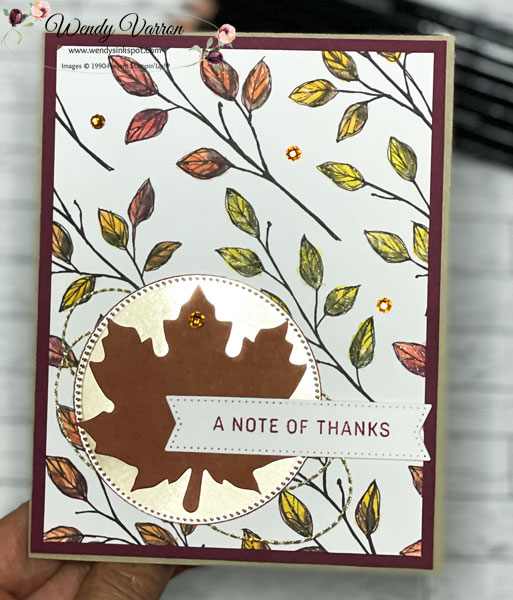
The second card uses some of my favorite Online Exclusives: A Little Latte Suite Collection. The A Little Latte Designer Series Paper offers a variety of patterns that coordinate beautifully.

I followed the sketch closely for this card, which showcases the wonderful synergy of the patterns in the Designer Series Paper, including the die cut coffee cup! The fun coordinating Adhesive Backed Swirl Dots add a perfect finishing touch.
I hope these cards inspire you to create your own designs using sketches. They are a versatile tool that can bring fresh ideas and new perspectives to your creative projects.
Sketch Measurements:
Card base: 4-1/4″ x 5-1/2″
Card stock Layer: 3-1/4″ x 4-1/2″
Card stock Layer: 3-1/8″ x 4-3/8″
Designer Series Paper: 1 x 2-3/8″
Designer Series Paper: 1-7/8″ x 2-3/8″
Designer Series Paper: 1-3/4″ x 3″
Sentiment size: Your Choice
I love to read your comments! To leave me a comment please CLICK HERE
Happy Stamping!

I’d love to be your Stampin’ Up!® Demonstrator. All the Stampin’ Up! supplies used to make my cards are available in my online store. Simply click any of the product photos below!
Want to leave a comment? Please CLICK HERE