Daisy Daydream Paper Pumpkin & Free Stamp Set
🌼 A special box, a bonus stamp set, and the sweetest floral designs—March’s Paper Pumpkin Kit is buzzworthy! 🐝 But don’t wait too long—this exclusive kit is only available for a limited time!

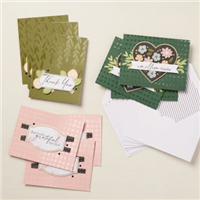
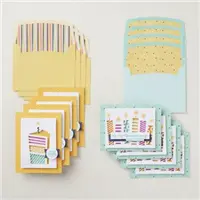
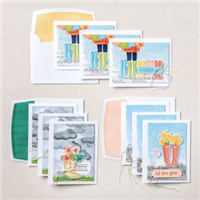
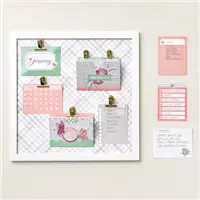
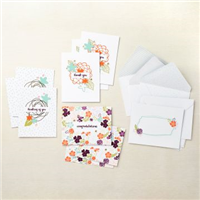
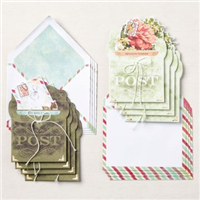
There’s something magical about opening a Paper Pumpkin box—the thrill of unwrapping creativity, the joy of crafting something beautiful, and the satisfaction of sharing handmade happiness. The March 2025 Paper Pumpkin Kit – Daisy Daydream is extra special! Not only does it come in a beautifully designed, collectible box, but it also includes a BONUS photopolymer stamp set—because Stampin’ Up! knows we can never have too many stamps!
🌼What’s included in the March 2025 Paper Pumpkin Kit – Daisy Daydream 🌼
🌼 Makes 9 cards – 3 each of 3 designs, with coordinating envelopes
🌼 Exclusive photopolymer stamp set (+ a BONUS FREE Stamp Set!)
🌼 Specialty gold foil and precut vellum accents
🌼 Unique precut paper pieces featuring bees, honeycomb, and daisies
🌼 Coordinating Stampin’ Spot in Lost Lagoon
🌼 Color palette: Crumb Cake, Crushed Curry, Lemon Lime Twist, Lost Lagoon, Mossy Meadow, Very Vanilla
🌼 Beautifully designed, collectible box

✨ Don’t miss out! Subscribe to Paper Pumpkin between February 11–March 10 to bring the Daisy Daydream kit to your craft table before it’s too late!
Don’t Forget the Coordinating Dies
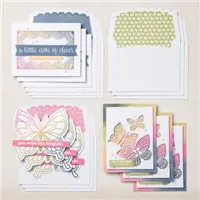
Expand your Paper Pumpkin kits with the Spring Is in the Air Dies add-on! The dies include a heart frame, flowering chive, honeycomb, or tiny bumblebee to elevate your crafting projects. They coordinate with THREE Paper Pumpkin Kits: the Hearts for You Paper Pumpkin Kit, the Spring Is in the Air Paper Pumpkin Kit, and the Daisy Daydream Paper Pumpkin Kit. Pair these dies with other Stampin’ Up! products for even more creative options!

Add-on includes:
* 4 dies
Note: You must be a current Paper Pumpkin subscriber to purchase this item which is only available while supplies last.
Pre-Paid Subscriptions Also Available
Did you know? Stampin’Up! also offers Prepaid 1 month, 3 month, 6 month or 12 month Subscriptions which allow you to pay ahead or give as a gift. Just click the image below for the prepaid subscription of your choice.
Happy Stamping!

Want to leave a comment, Please Click Here