Luv 2 Stamp Group Blog Hop Featuring Ribbon


Welcome to the
Luv 2 Stamp Group Blog Hop!!
Our theme this month is Ribbon!!
We are excited to sharing our projects with you! We hope to inspire you to create beautiful new projects. Each month we will have a different theme based on the next month’s celebrations using Stampin’ Up! products. Once you are done with each post, scroll down to the bottom and you will see a list of Blog Hop participants. You can click on their names to go to their post, or you can click the next button to go to the next post in line. We hope you enjoy all our projects featuring Ribbon!

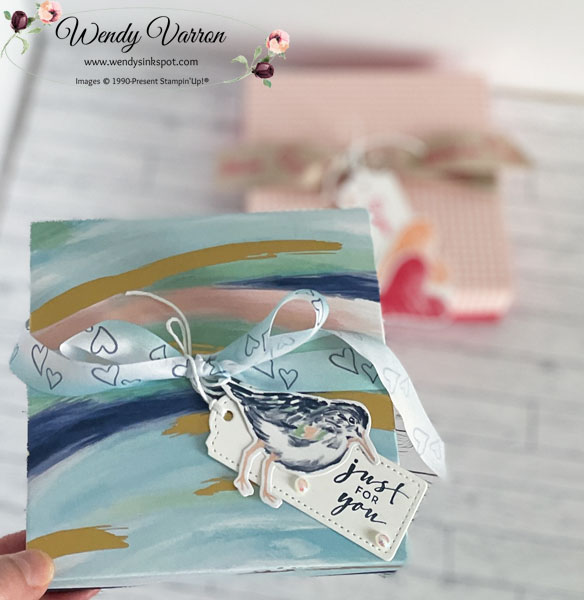
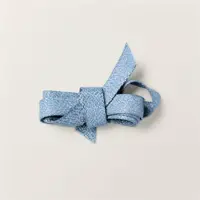
The ribbon I have chosen to use on my card is the Boho Blue Textured Ribbon. It is so soft and easy to work with. I love the texture of this ribbon, it gives the ribbon a bit of shimmer effect in the light. I have always tied knots when using ribbon on my cards in the past because I struggle with tying bows. I always seemed to have a hard time holding the knot tight while tying the loops of the bow. I have a bow tying tip if you struggle like I did.
Thanks to the tweezers in the Embossing Additions Tool Kit, it’s easier for me to tie a bow. Here’s how I do it. You can see in the photo below, once I have tied the knot I used tweezers pinch the knot tight, then I’m able to finished tying the bow. The tweezers easily slip out of the bow and the I tighten the bow.

I die cut the Boho Blue Cardstock with the scallop die in the Scallop Contours Dies. When I’m die cutting I use washi tape to hold the die in place.

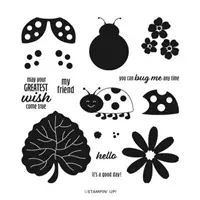
I stamped the ladybugs from the Hello Ladybug Stamp set in Tuxedo Black Memento Ink and Lemon Lolly Ink. I brushed the ladybug spots with a wink of stella. To stamp the sentiment I used Stampin’ Up! Masking Paper to stamp the words bug me in Boho Blue and the rest of the sentiment in Tuxedo Black Memento Ink. Then I die cut it out with the label from the Stylish Shapes Dies, which I added to my card with Stampin’ Dimensionals.

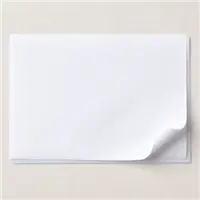
Lemon Lolly is such a light pretty color I decided not to add a piece of Basic White inside my card but I did stamp a little ladybug inside.


For more inspiration from the Luv 2 Stamp Group Blog Hop Team, click on the image below to visit the talented Kurstan del Rosario. Don’t forget to continue following links on each blog to see everyone’s projects!

Wendy Varron- MD *You are here
Hello Ladybug Card Measurements:
Lemon Lolly Cardbase: 4-1/4″ x 11″, score and fold in half at 5-1/2″
I hope you enjoyed my card featuring ribbon! I’d love to be your Stampin’ Up!® Demonstrator. All the Stampin’ Up! supplies used to make my card are available in my online store. Simply click any of the product photos below!


I love to read your comments! To leave a comment Please CLICK HERE.
Happy Stamping!

Want to leave a comment? Please Click Here