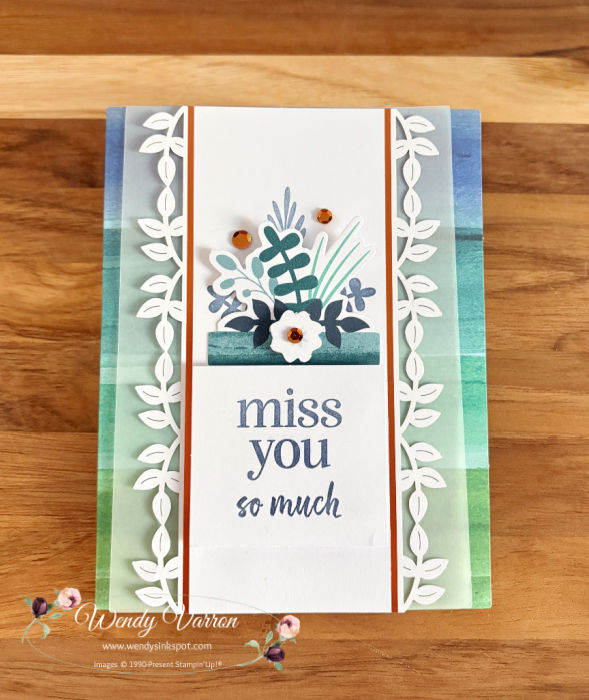
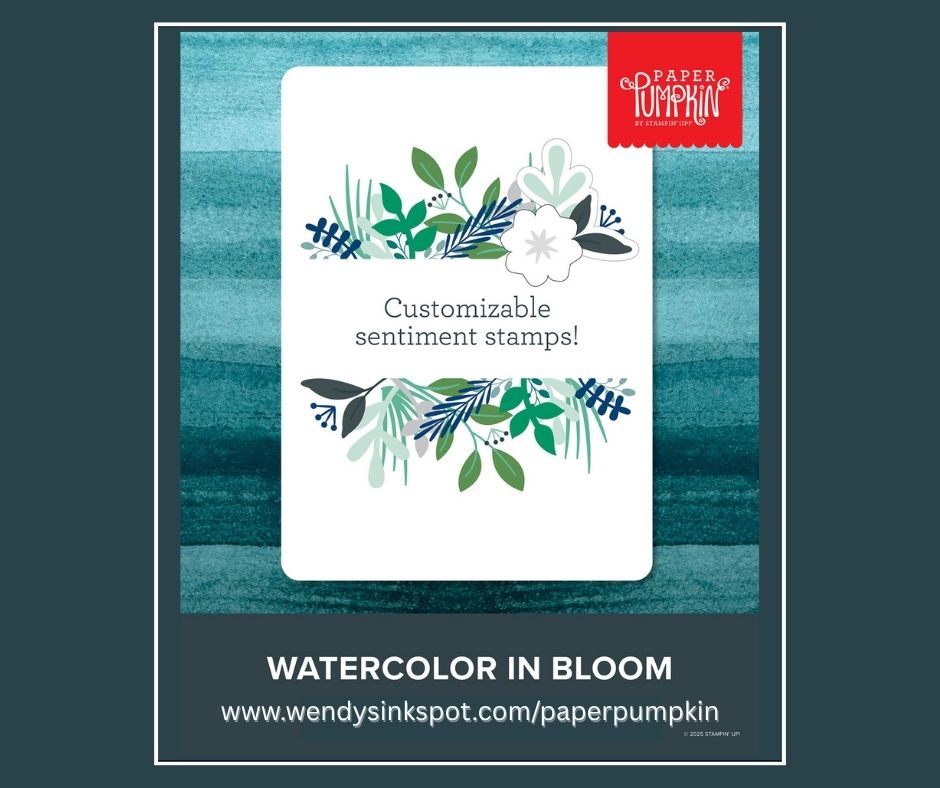
April Paper Pumpkin Kit Lakeside Retreat
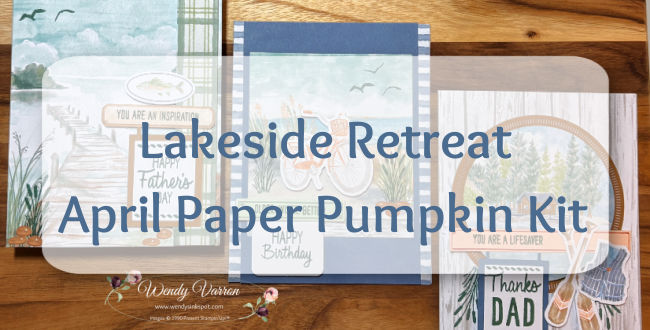
The Lakeside Retreat April Paper Pumpkin Kit is such a peaceful, nature‑inspired kit. The watercolor artwork, soft colors, and outdoorsy themes make it perfect for masculine cards. I love kits like this. Masculine cards aren’t always the easiest for me, and this one takes all the pressure off. For today’s post, I’m sharing the three cards I made exactly as designed.
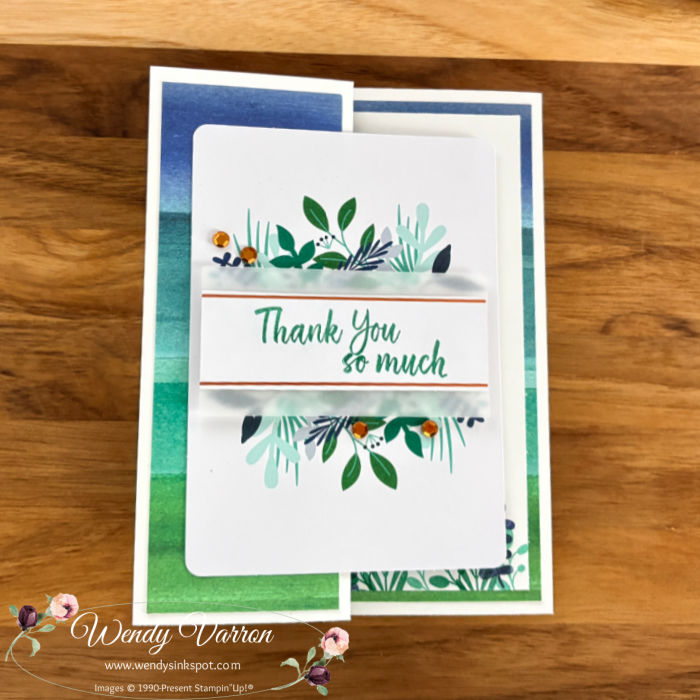
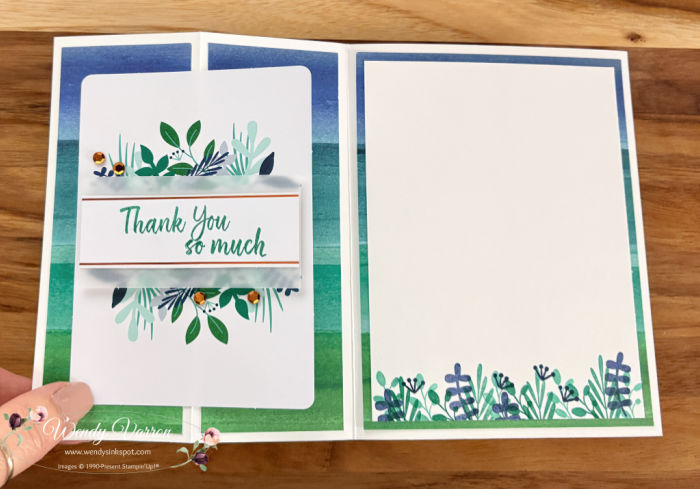
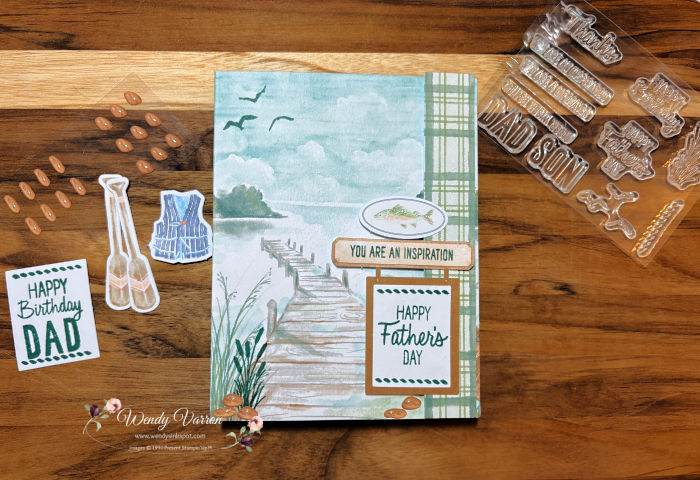
Happy Father’s Day Card
This card captures that perfect boardwalk‑to‑the‑beach moment, and it’s my favorite of all three cards. I love the colors, the soft sky, and the birds make it feel calm and uplifting. It’s a great card for Father’s Day.
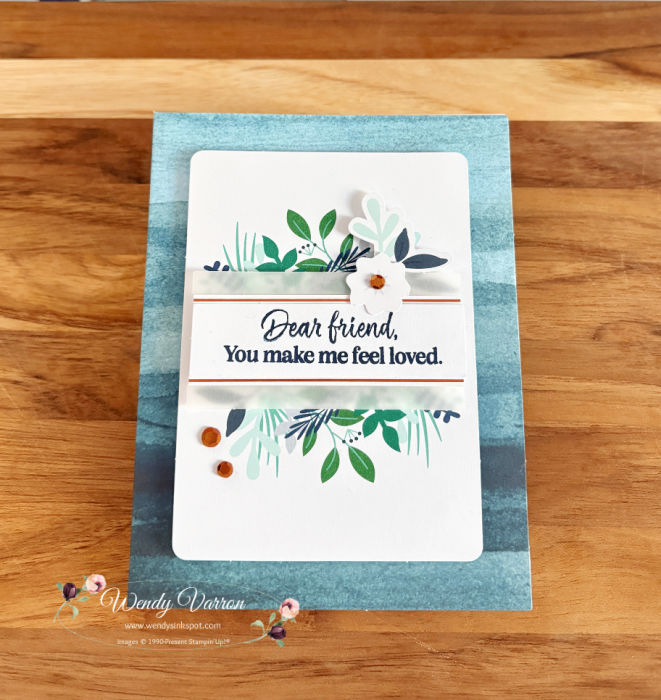
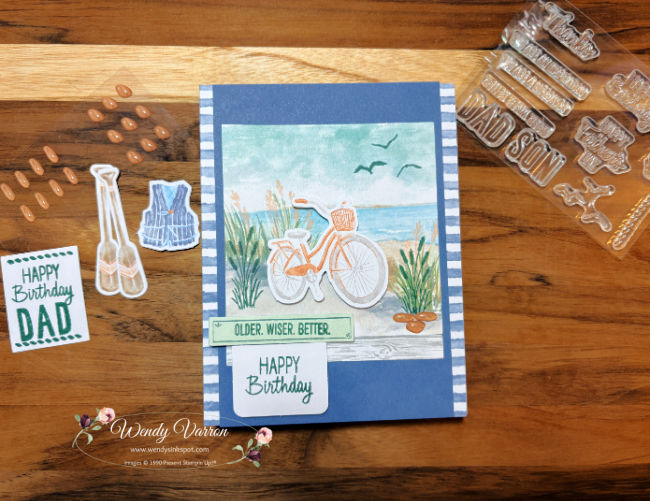
Happy Birthday Card
This card features a peaceful coastal scene complete with a bright bicycle and soft watercolor sky. It’s such a refreshing design and makes a perfect birthday greeting for anyone who loves the outdoors.
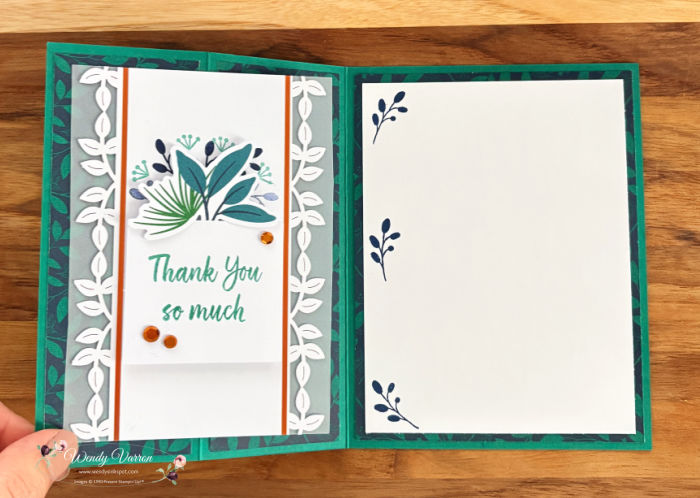
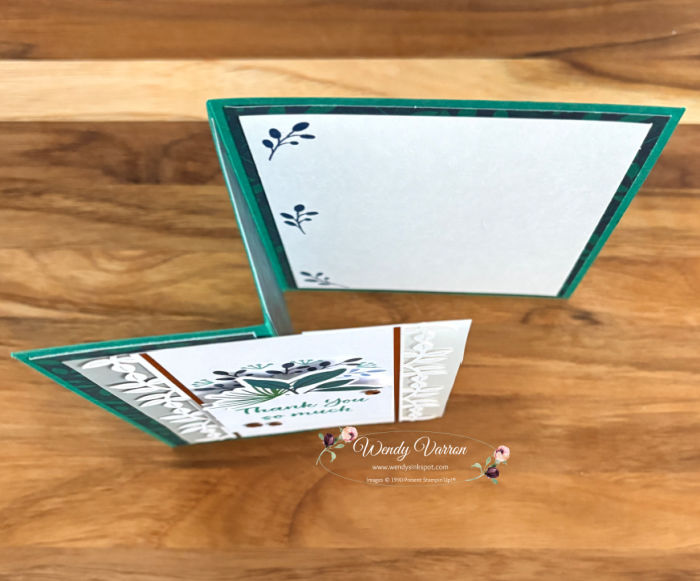
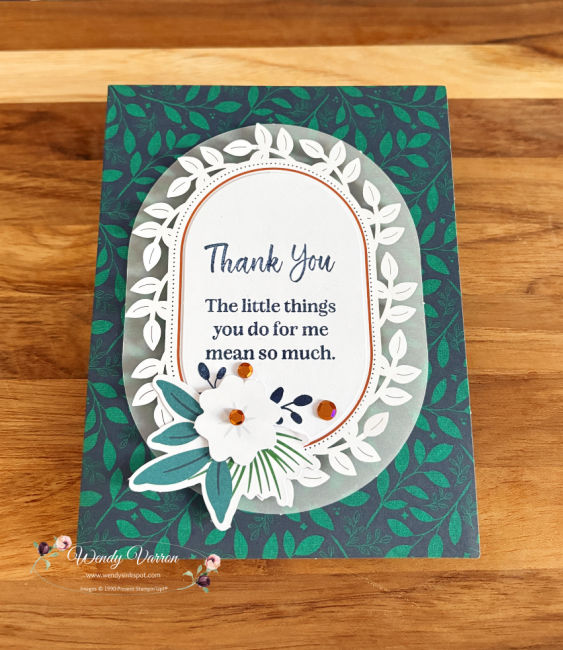
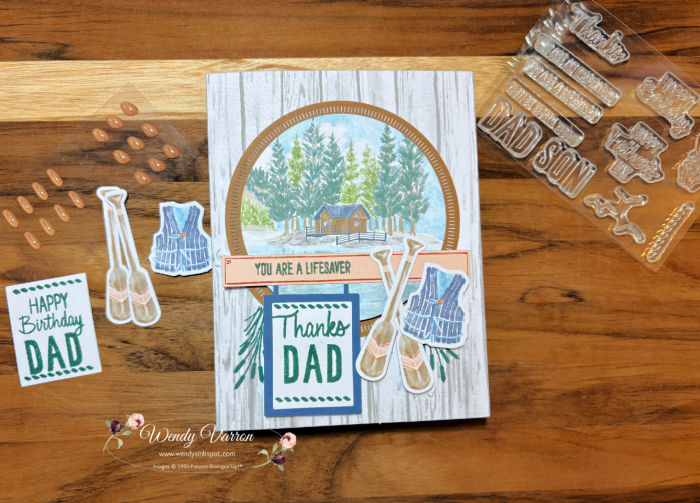
Thanks Dad Card
This lakeside cabin design is full of cozy, rustic charm. The paddles, fishing gear, and trees make it perfect for outdoorsy dads or anyone who loves time at the lake.
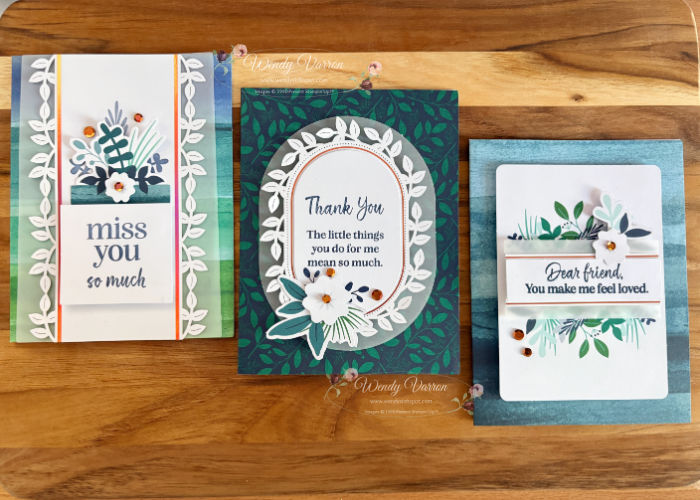
All three cards look so nice together. Each one unique, yet perfectly tied into the lakeside theme. I always struggle a bit with masculine cards, and this kit makes it so easy.

If you loved this kit as much as I did, the Lakeside Retreat Refill Kit is currently available to active Paper Pumpkin subscribers. It includes all the consumable pieces so you can recreate these cards again or craft your own alternatives. Please note the Refill does not include stamps or ink spot.
Happy Stamping!

Want to leave a comment, Please Click Here

**Subscribe to my Customer Newsletter
**Shop the Last Chance Products List – Click Here
**Join my Ink, Stamp & Share Team of Demonstrators – click for info