
One of my favorite things about Paper Pumpkin is using the kit as inspiration rather than a rule book. For December’s Watercolor in Bloom kit, I followed the instructions for three cards (one each of three designs) which I shared with you yesterday. Click here if you’d like to read yesterday’s blog post. Then I created my own designs using the same elements.
Today I’m sharing three of the eight alternative cards I made. These designs use only the kit contents plus a few basic tools — and they show just how versatile this kit can be! I created all three as a Z Fun fold card. They are one of my favorite fun fold, as they are easy to make and add some dimension and fun to the cards.
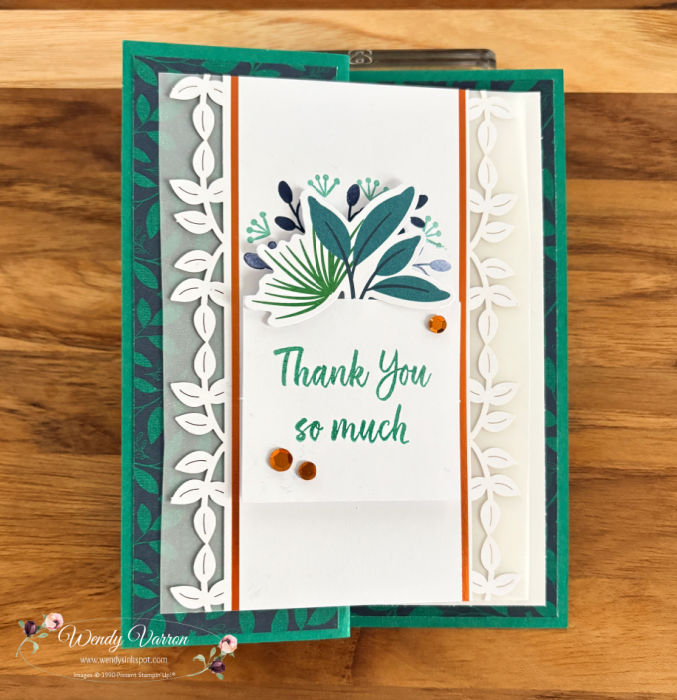
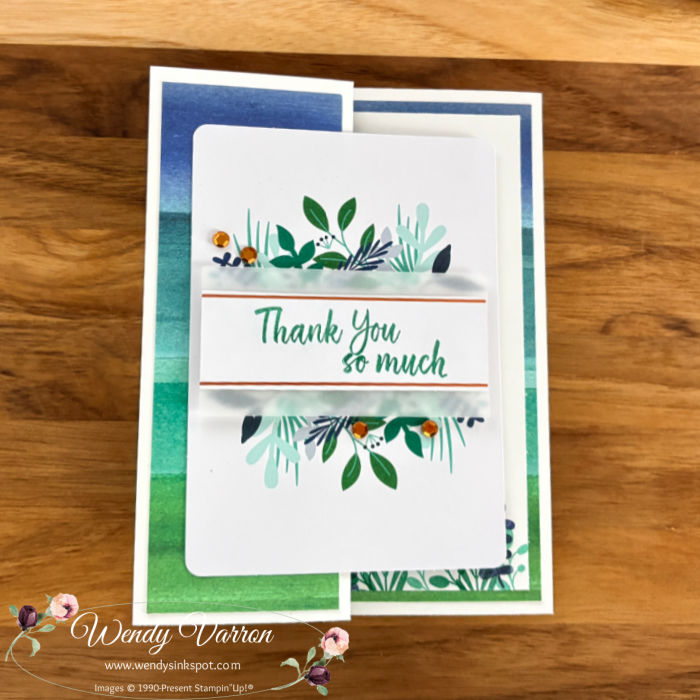
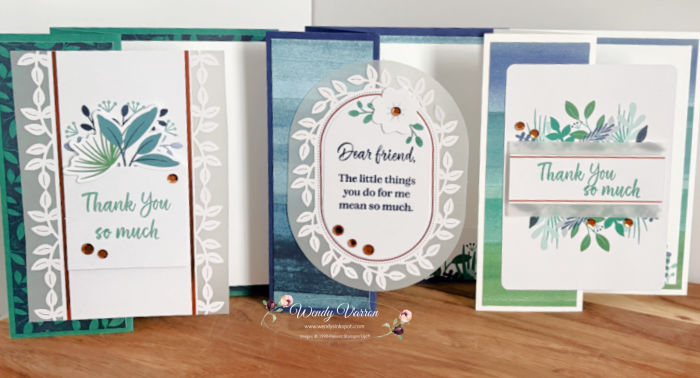
To create this Z Fun Fold card, I started with Shaded Spruce cardstock for the cardbase. I then took one of the card bases from the kit and cut it into three pieces to use as the first layer for each of the panels.
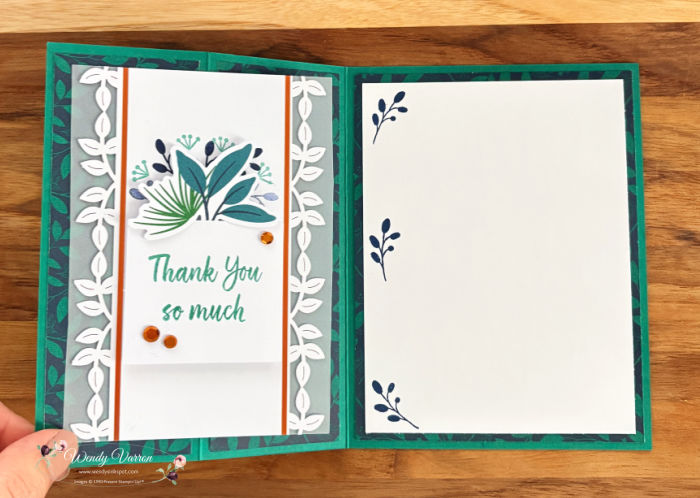
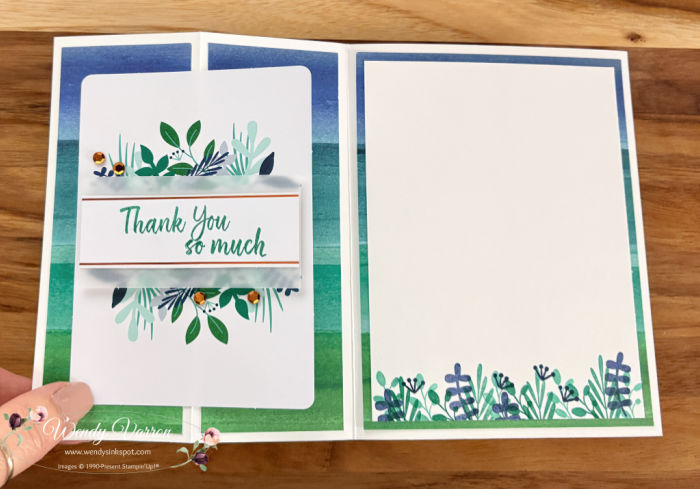
To create the front of the card, I used the die-cut elements in the kit. Stamping a few of the leaves and foliage on the die cut piece before adding the die cut leaves and sentiment. Then I adhered them it the front flap, finishing it off with a few of the pretty Copper Sequins. On the inside of the card, I stamped a few leaves along the left edge of a Basic White layer and adhered it to the inside panel, leaving plenty of space for a handwritten message.
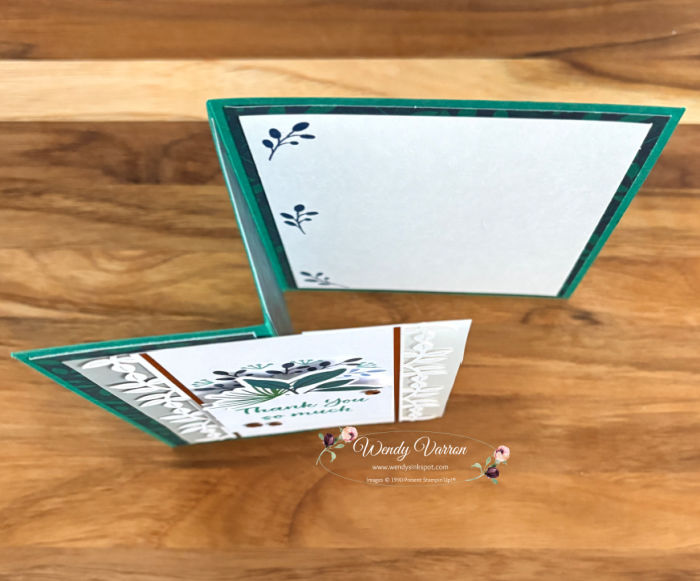
Z Fun Fold Tip: When adhering the front panel to the card base, be sure to add adhesive to only the left side of the layer. This allows the right side to move freely when the card is opened. That movement is what creates the fun fold and lets you see the front of the card as you open it.
The next card I created I did almost the same thing. I used Basic White cardstock for the card base. Then on the inside Basic White panel, I stamped the foliage along the bottom edge.
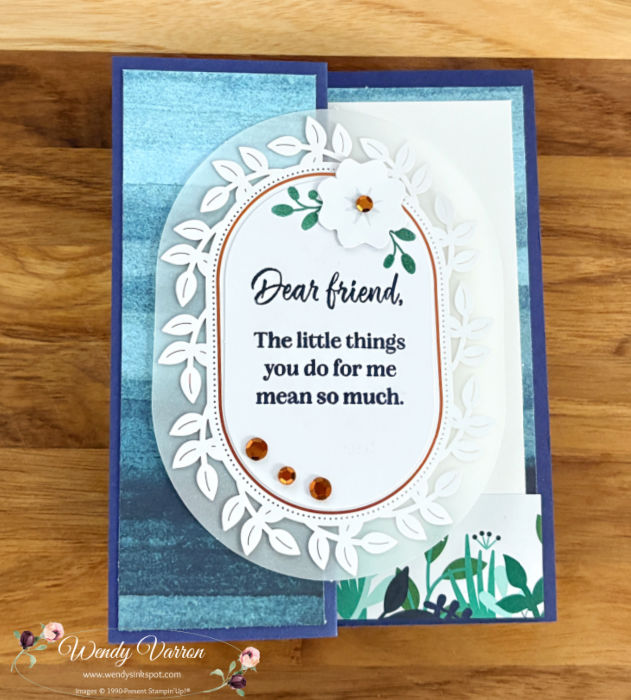
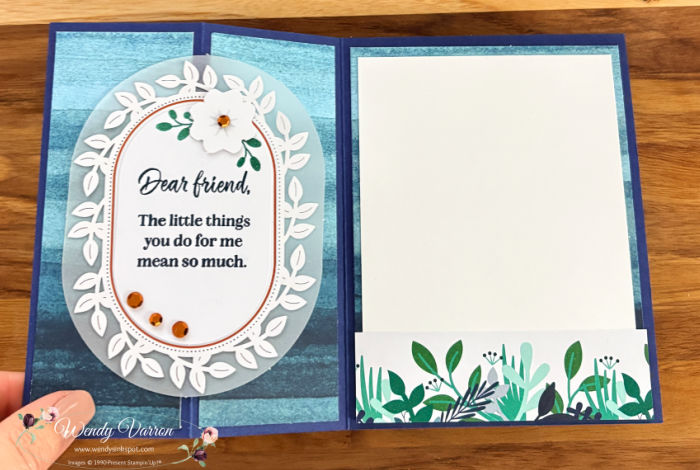
For the third card I used Night of Navy cardstock for the card base. On the inside of this card I used on of the envelopes to decorate the Basic White panel. I love the foliage decoration on the envelopes and wanted to use it on a few of the cards. So, I trimmed the envelope down to just a the strip with the foliage on it and added it to the base of the panel.
These are just the first three of the eight alternative cards I created. I can’t wait to share the rest with you. This kit is full of possibilities, and I hope these ideas inspire you to create with your kit. Stay tuned for the next post where I’ll share my other alternative designs, including another fun fold.
Watercolor In Bloom Z Fold Card Measurements:
- Cardbase: 5-1/2″ x 8-1/2″, score on the long side at 2-1/8″ & 4-1/4″
- DSP layer (made with kit cardbase: 1-7/8″ x5-1/4″ (2), 4″ x 5-1/4″
- Basic White inside panel: 3-3/4″ x 5″
Click Here to Subscribe to Paper Pumpkin and never miss a kit!
Paper Pumpkin Subscribers can shop Paper Pumpkin Refills, Past Kits & Add Ons – Click Here to Shop Online
Happy Stamping!


Want to leave a comment, Please Click Here

**Subscribe to my Customer Newsletter
**Shop the Last Chance Products List – Click Here
**Join my Ink, Stamp & Share Team of Demonstrators – click for info