Beyond the Horizon by Paper Pumpkin

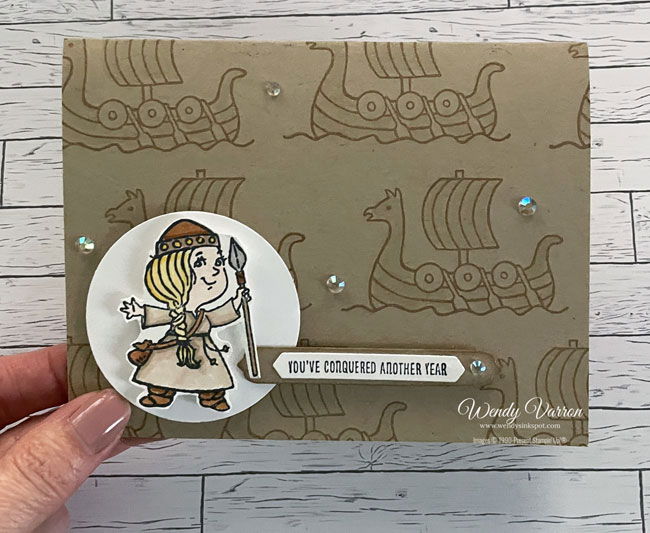
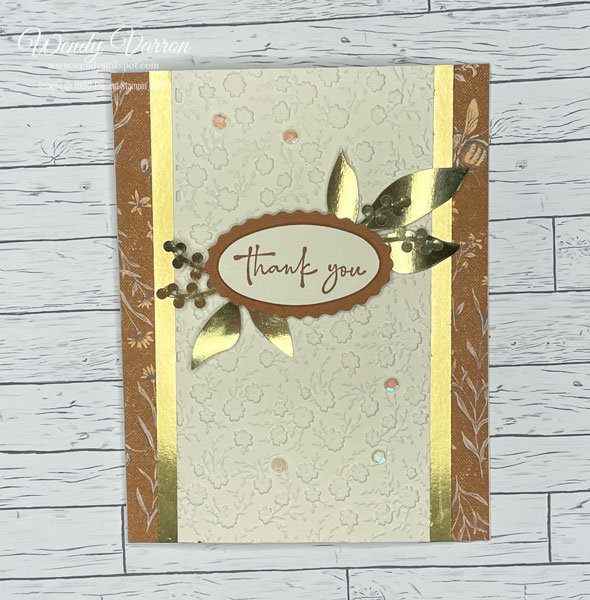
From the hands and hearts of artisans to you comes this month’s breathtaking kit. The Beyond the Horizon Paper Pumpkin Kit includes watercolor prints and designs inspired by the beautiful nature around us. If there’s one thing I love, it’s products that pair perfectly. And the Beyond the Horizon Paper Pumpkin Kit pairs perfectly with the New Horizons Suite Collection found in the January–June 2022 Mini Catalog.

Beyond the Horizon Kit Details:
- This month’s kit contains enough elements to create 9 cards—3 each of 3 designs—and 9 coordinating envelopes. This all-inclusive kit includes printed card bases, die-cut paper pieces, embellishments, adhesive, and more!
- The Beyond the Horizon Paper Pumpkin Kit includes a Misty Moonlight Classic Stampin’ Spot!
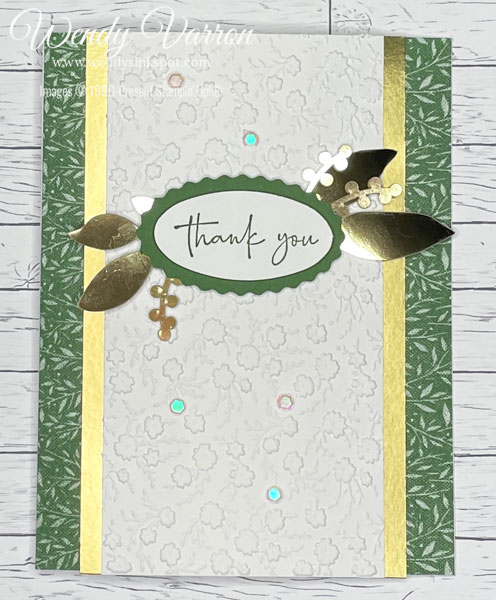
- This kit’s exclusive stamp set is perfect for any occasion. With sentiments that say “thanks”, “hello”, “thinking of you,” and so many more, you’ll be able to use this stamp set year round.
- And if you thought one stamp set was great just wait—this month’s kit comes with a BONUS stamp set for FREE!
- Card size: 4-1/4″ x 5-1/2″ (10.8 x 14 cm)
- Envelope size: 4-1/2″ x 5-3/4″ (11.4 x 14.6 cm)
- Coordinating colors: Bumblebee, Calypso Coral, Evening Evergreen, Misty Moonlight, Night of Navy, Old Olive, Pale Papaya
Did You Say FREE?

That’s right! As a big THANK YOU to all our wonderful subscribers the March Paper Pumpkin Kit will include an additional FREE stamp set. That’s TWO stamp sets in one kit! Be sure to Subscribe by March 10, 2022!
Bonus!!
When you Prepay for a 3 month, 6 month or 12 month Paper Pumpkin subscription, you also get to select Sale-a-Bration gifts!! AND if you subscribe for 12 months, you also get $22 in Free Products of your choice (with hostess benefits) in addition to your Sale-A-Bration gifts!! How cool is that?! *This offer is only available during Sale-A-Bration from Jan 4 – Feb 28, 2022.
Happy Stamping!!


")
")
")
")

")
")

")
")
")


")
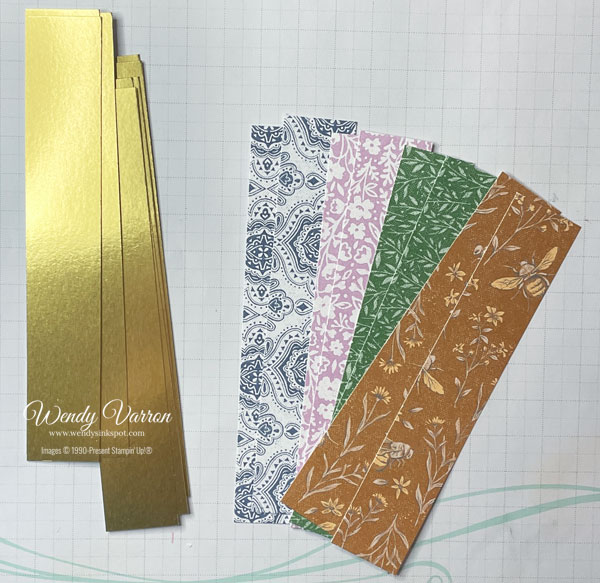
 Designer Series Paper")