My Favorite Printable Color Resources
Now that we’ve all had a few weeks to really dig into the new Annual Catalog, I’ve been busy getting my color resources updated — and I’m sharing them all with you today. I hope you find them useful!
Color Resources
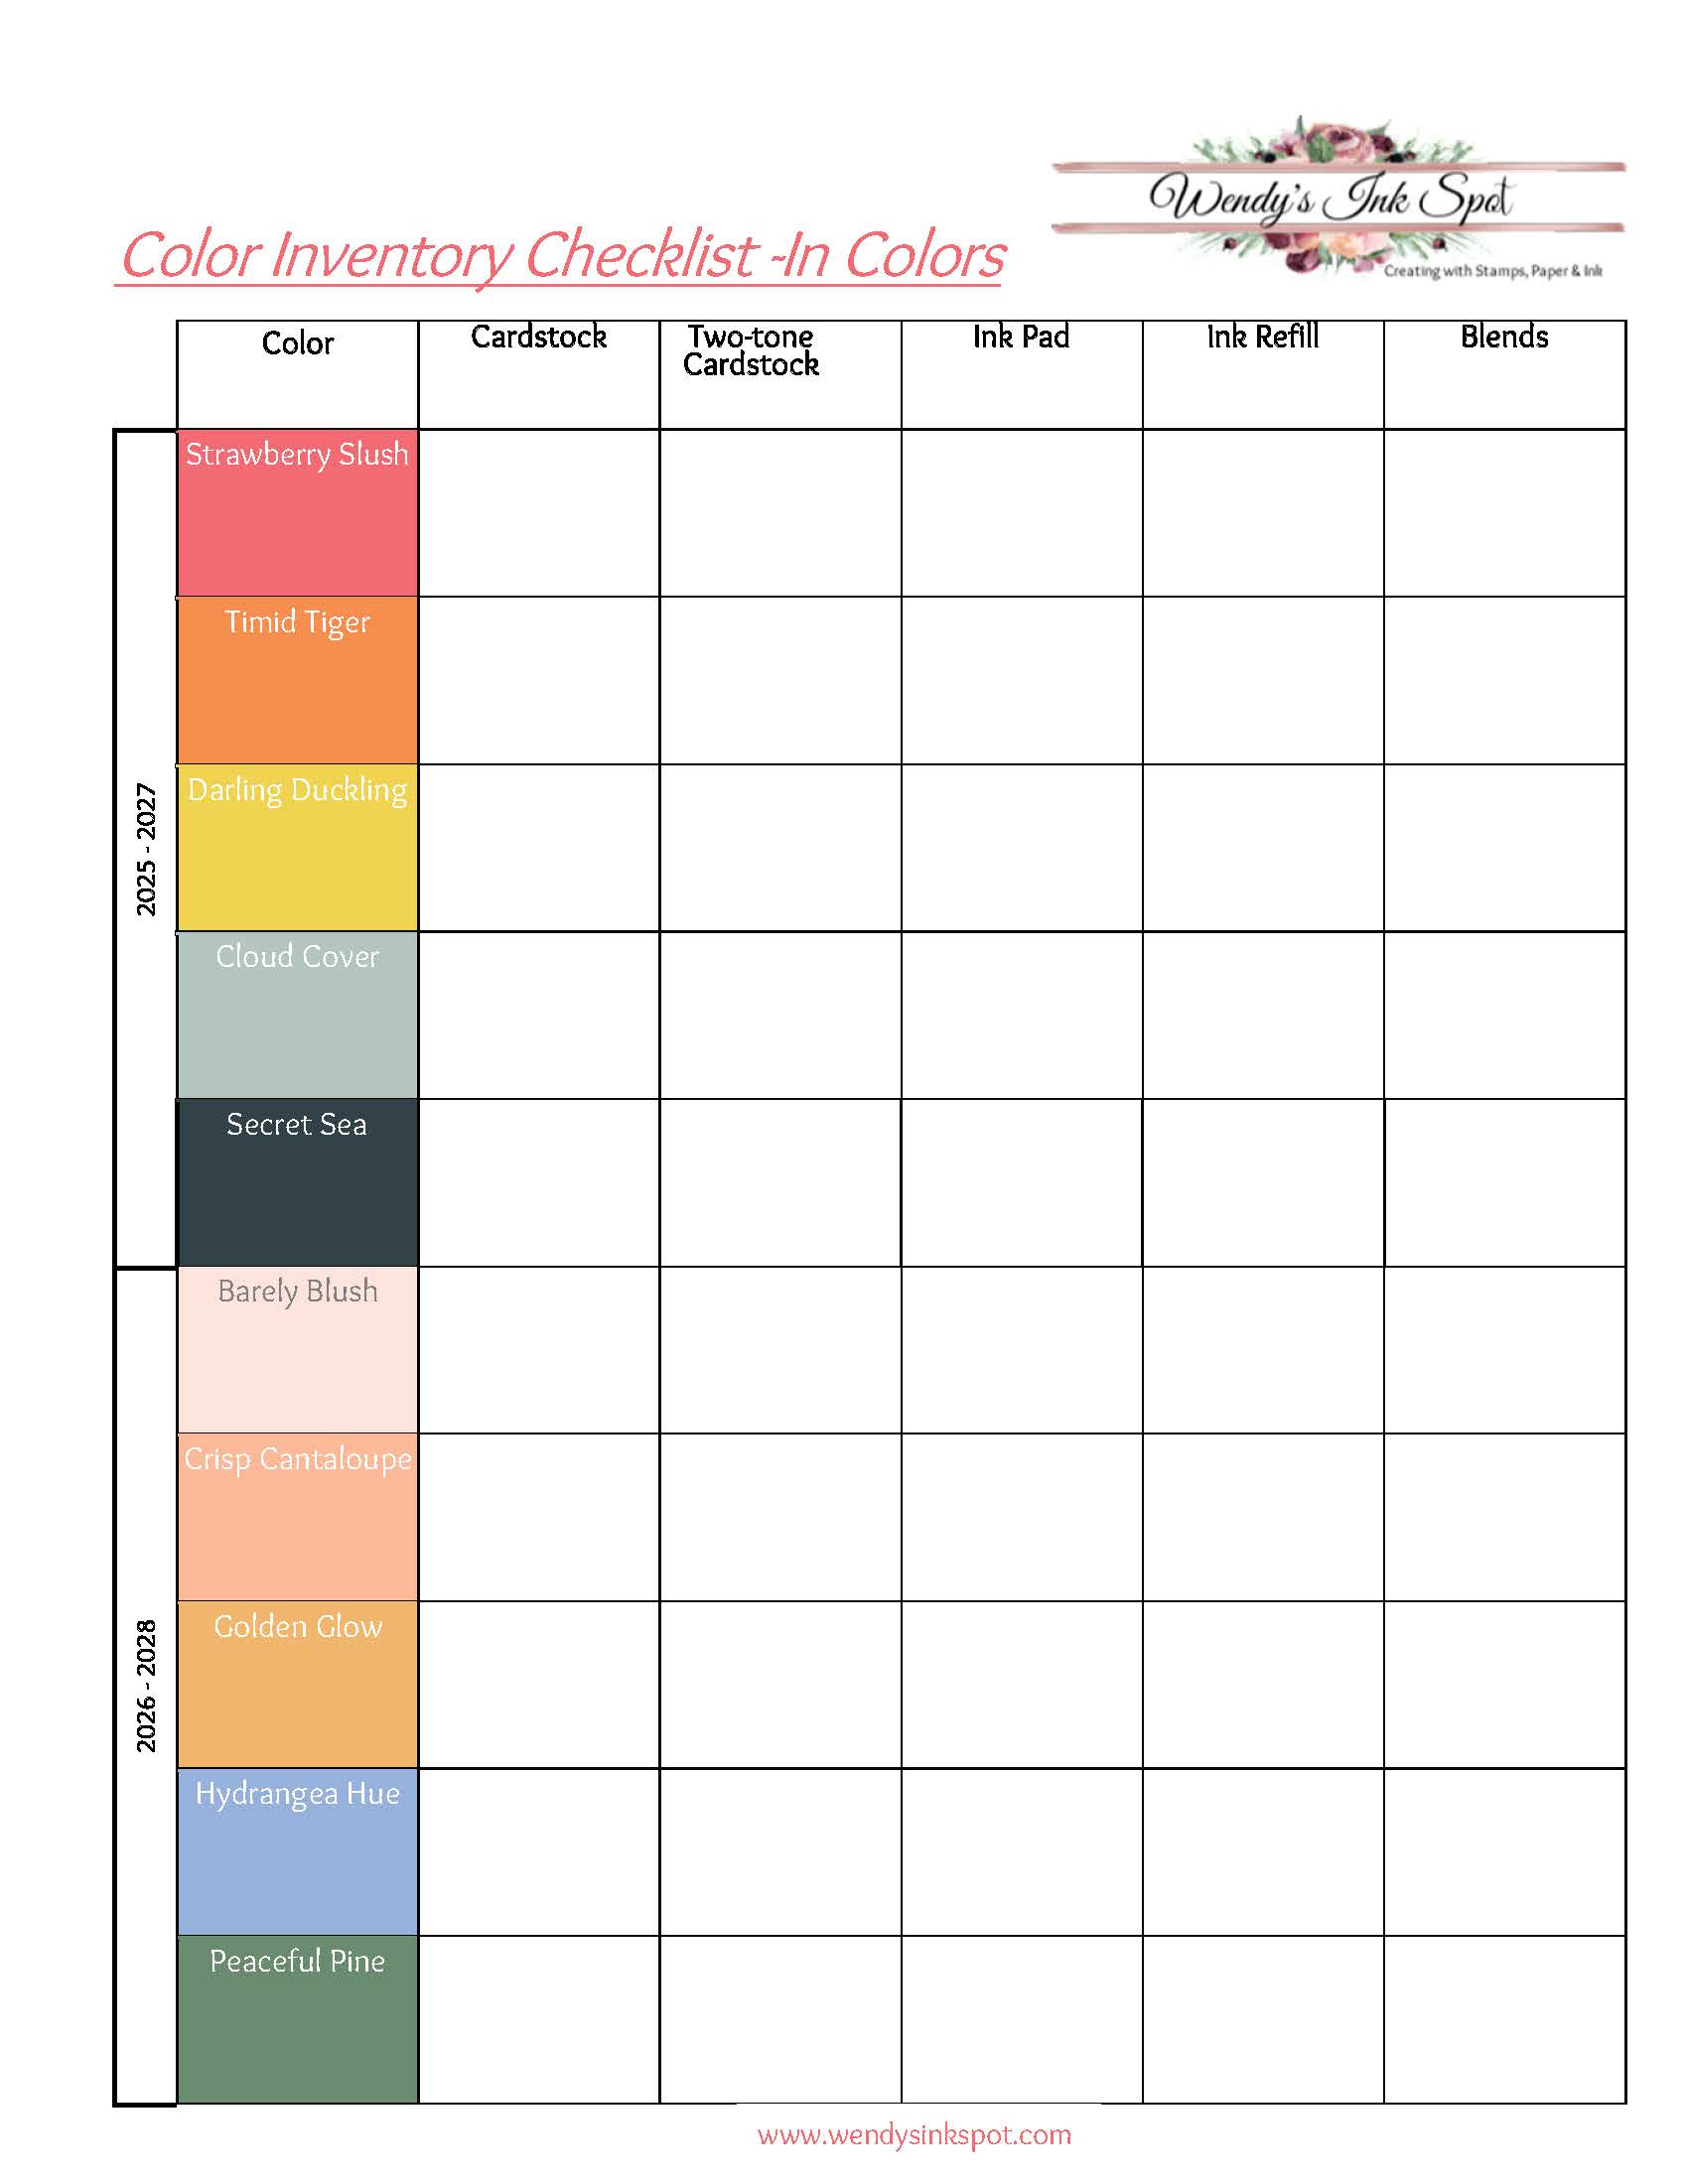
The Color Inventory Checklist is one of my most-used tools — it’s organized by color family and lets you track exactly what you own in each color, cardstock, ink pads and Stampin’ Blends. It’s such a time-saver when you’re shopping or planning a project and want to know what’s already in your stash. Click the image below to download and print.
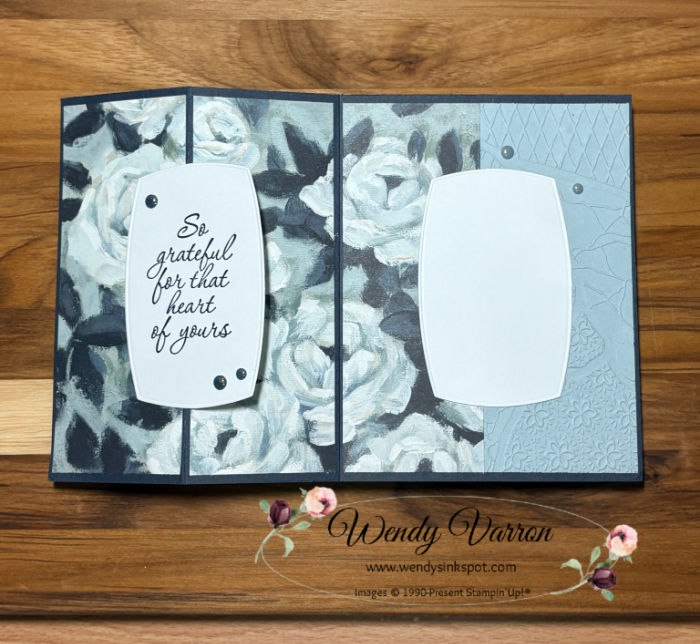
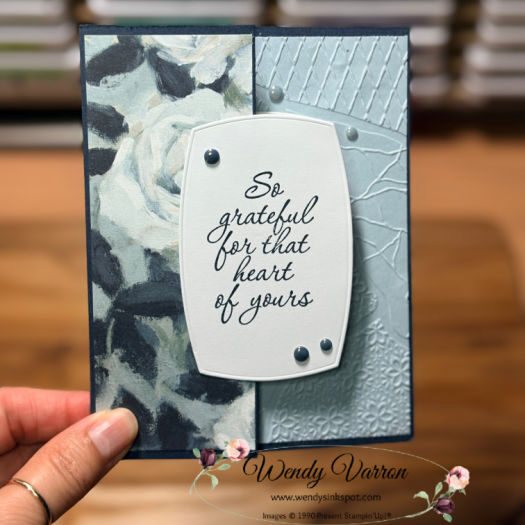
The Color Coach is a quick, inspiring tool that helps you choose Stampin’ Up!® color combinations with confidence. Each card gives you ready‑made palettes, so your projects come together beautifully every time. It’s perfect for jump‑starting creativity when you’re not sure where to begin. Click the image below to download and print.

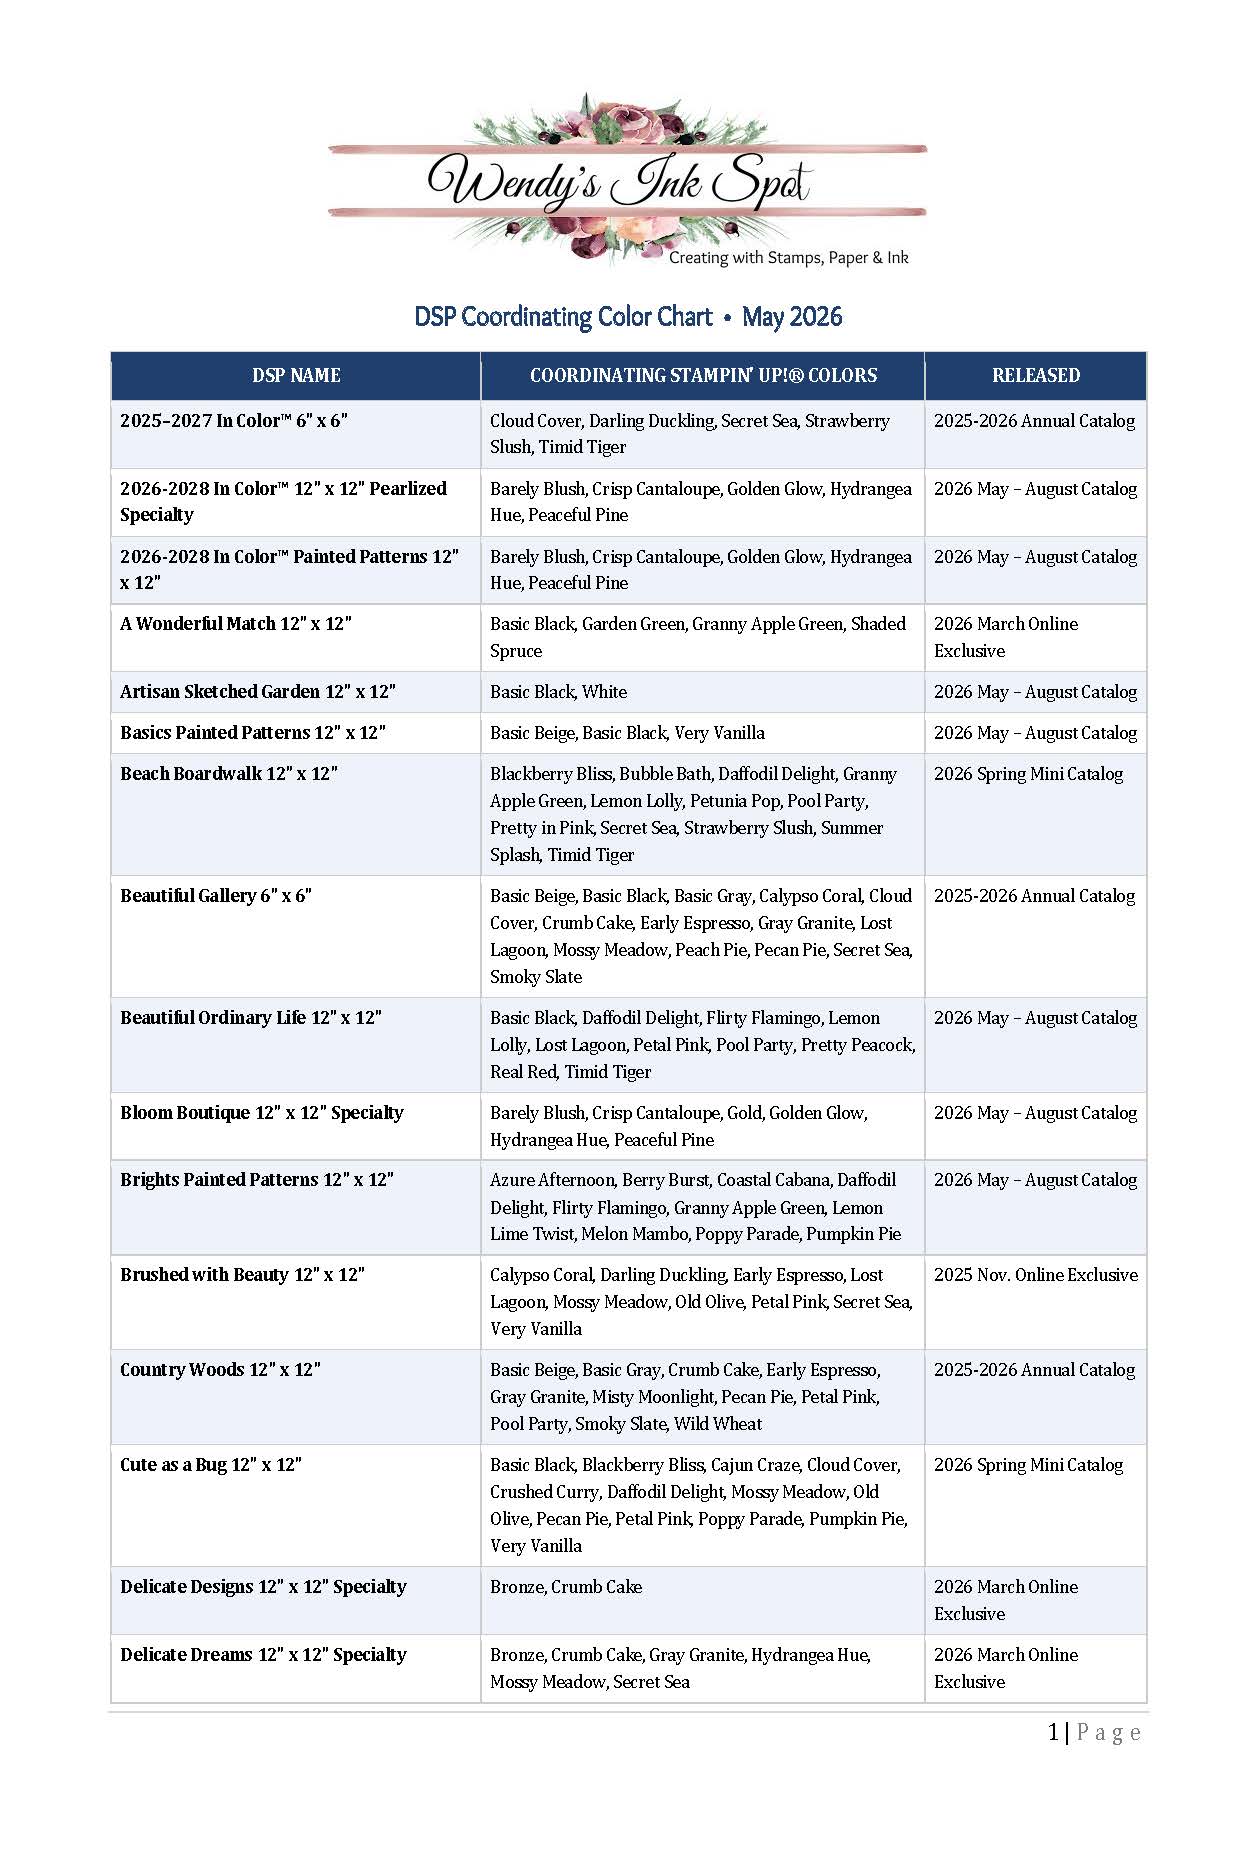
The DSP Color Chart is a quick-reference guide that lists every current Designer Series Paper along with its coordinating Stampin’ Up!® colors. It makes matching cardstock, inks, and embellishments effortless, so your projects come together beautifully. A perfect tool to keep at your craft desk. Click the image below to download and print.
I’m also sharing a video I filmed a few years ago where I walk through how I use these color resources in my crafting. Even though the colors have changed over the years, the tips and process are still incredibly helpful. It’s a great refresher if you’re new to color pairing.
I hope you find all the resources helpful!
Happy Stamping!

I love to read your comments! To leave a comment please Click Here

Want to leave a comment? Please Click Here