Beautiful Blues Designed Cards & Creative Inspiration
If you love the ease of a kit but still enjoy adding your own creative spin, you’re going to love today’s project. I’m sharing a closer look at the Beautiful Blues Kit from Stampin’ Up!’s Kits Collection, along with one of the many cards I created using the kit elements as inspiration.

The Beautiful Blues Kit comes with everything you need to create beautiful, coordinated cards right out of the box:
- Beautiful Blues Exclusive Photopolymer Stamp Set
- Clear Stamp Block
- Night of Navy Classic Stampin’ Spot
- 9 printed card bases and matching envelopes
- Precut Paper Pieces & Dot Embellishments
- Adhesive
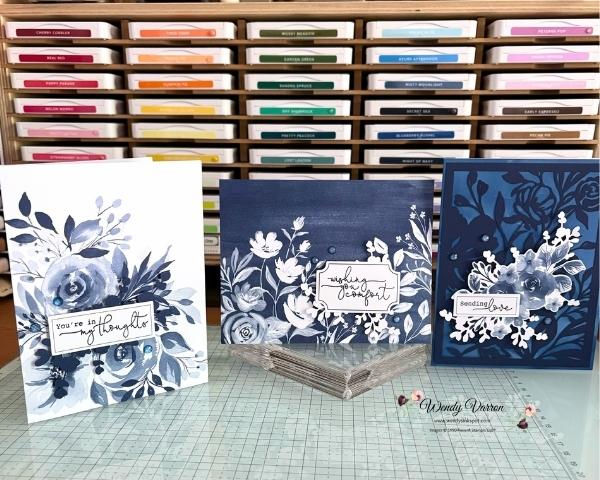
Cards as Designed
The kit includes instructions to create three card designs (you can make 3 each of 3 designs), and they’re beautiful just as they are. The rich blues, floral details, and thoughtful sentiments make these perfect for thank you, encouragement, and sympathy cards. I crafted these following the instructions. I love how they turned out.
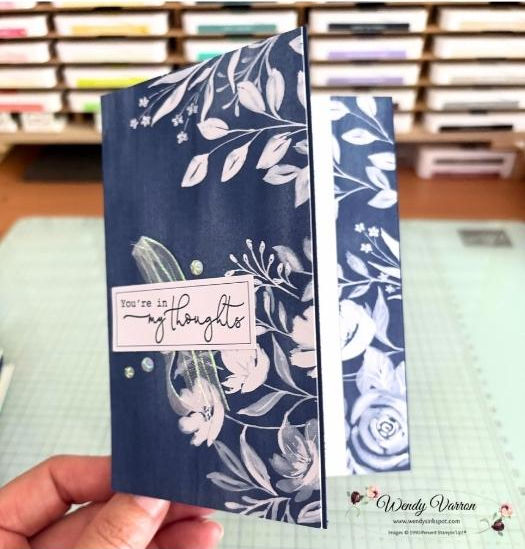
Taking the Kit a Step Further
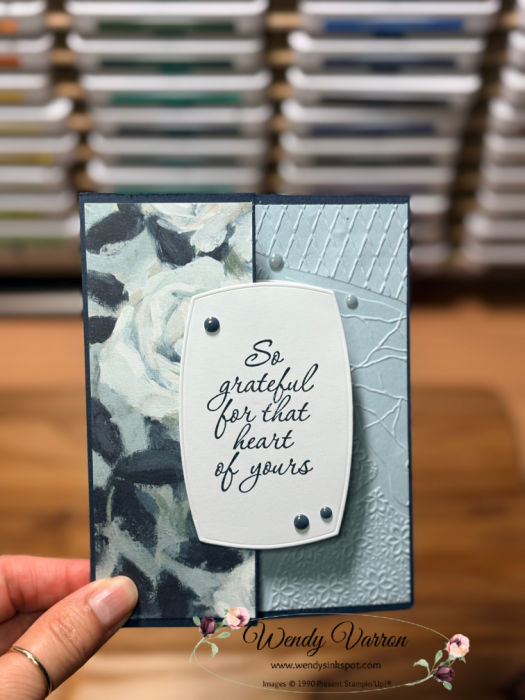
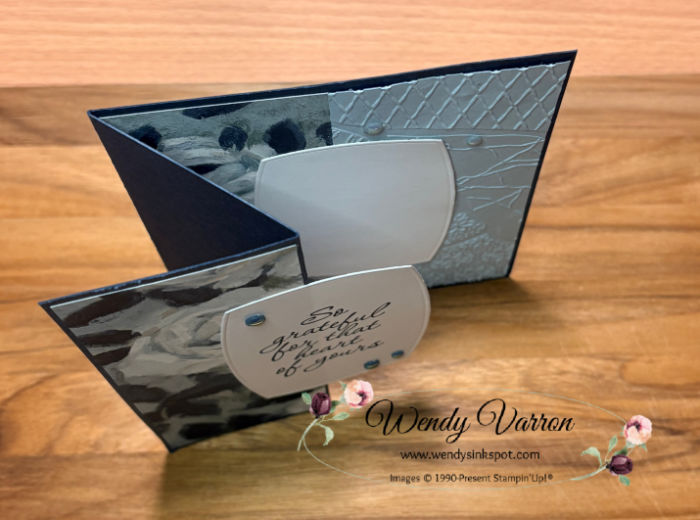
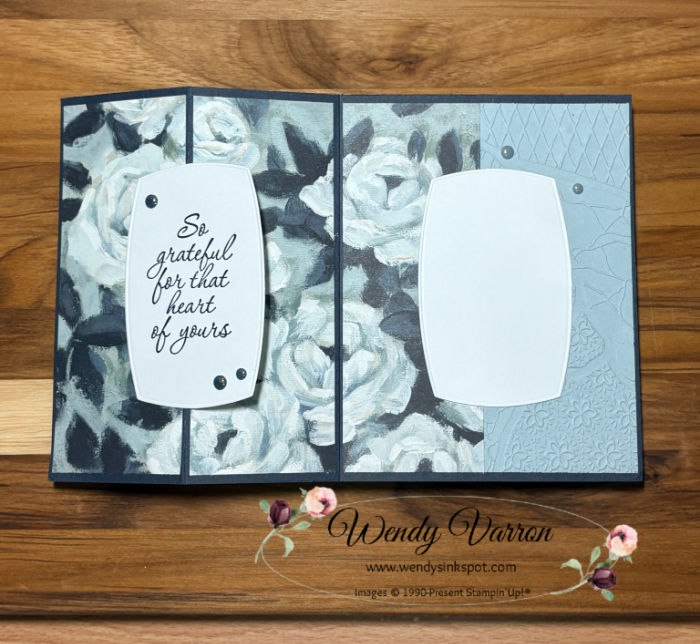
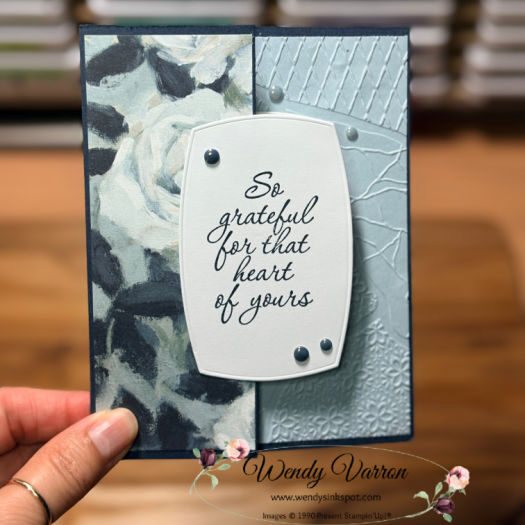
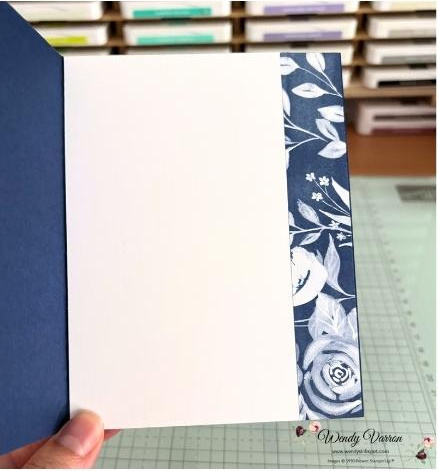
After making the cards as designed, I couldn’t resist creating something a little different using the kit elements as my starting point. For this fun fold card I used one of the print card bases in place of Designer Series Paper. I cut a 1″ strip off of the right side and adhered them to a Secret Sea card base. The 1″ strip is actually on the inside of my card along with a piece of Basic White cardstock.

Thanks so much for stopping by today! I hope you enjoyed seeing both the cards as designed and my fun fold alternatives card.
Beautiful Blues Fun Fold Measurements:
- Secret Sea card base: 5-1/2″ x 7-1/2″, Score on the long side at 3-1/4″
- Beautiful Blues card base: 4-1/4″ x 5-1/2″
- Basic White cardstock (inside panel): 3-1/4″ x 5-1/2″
Happy Stamping!


![Beautiful Blues Kit (English) [ 165658 ]](https://assets1.tamsnetwork.com/images/EC042017NF/165658s.jpg "Beautiful Blues Kit (English) [ 165658 ]")
![Secret Sea 8 1/2" X 11" Cardstock [ 165624 ]](https://assets1.tamsnetwork.com/images/EC042017NF/165624s.jpg "Secret Sea 8 1/2\" X 11\" Cardstock [ 165624 ]")
![Basic White 8 1/2" X 11" Cardstock [ 166780 ]](https://assets1.tamsnetwork.com/images/EC042017NF/166780s.jpg "Basic White 8 1/2\" X 11\" Cardstock [ 166780 ]")
![Night Of Navy Classic Stampin' Pad [ 147110 ]](https://assets1.tamsnetwork.com/images/EC042017NF/147110s.jpg "Night Of Navy Classic Stampin' Pad [ 147110 ]")
![Paper Trimmer [ 152392 ]](https://assets1.tamsnetwork.com/images/EC042017NF/152392s.jpg "Paper Trimmer [ 152392 ]")
![Multipurpose Liquid Glue [ 110755 ]](https://assets1.tamsnetwork.com/images/EC042017NF/110755s.jpg "Multipurpose Liquid Glue [ 110755 ]")
![Stampin' Dimensionals [ 104430 ]](https://assets1.tamsnetwork.com/images/EC042017NF/104430s.jpg "Stampin' Dimensionals [ 104430 ]")
Want to leave a comment, Please Click Here

**Subscribe to my Customer Newsletter
**Shop the Last Chance Products List – Click Here
**Join my Ink, Stamp & Share Team of Demonstrators – click for info