
Thank you for joining us for our Stampin’ Up!® Demonstrator Training Program Monthly Blog Hop! We are so happy that you could join us today for this blog hop for ideas and creative inspiration. We are a group of Stampin’ Up!® Demonstrators from around the world that are taking part in training that is helping us to build a successful Stampin’ Up!® business and reach some goals we have set. We really appreciate your support.
You may be starting here or have come from another blog – either way you can find the link list at the bottom of this post so that you can see every blog post and idea today.
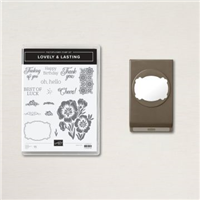
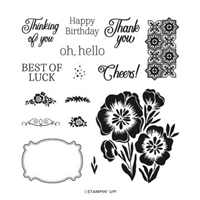
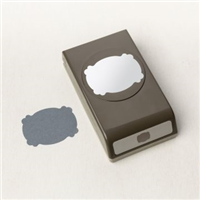
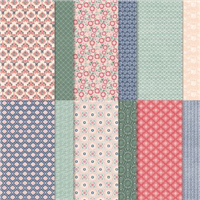
I’m featuring a few of the products from the Lovely in Linen Suite for my Customer Thank You Cards this month! The Lovely & Lasting Bundle & Lovely In Linen Designer Series Paper. I love that the Lasting Label punch coordinates perfectly with the Lovely & Lasting Stamps and all the pretty colors in the Designer Series Paper.

To create these lovely cards, I prepped all the elements needed before I put them all together. I’ve listed all the measurements below. Don’t forget, before cutting your Lovely In Linen DSP, pay attention to the direction of the pattern.


To put the card front together, start with adhering the DSP strips to the card base. I started with the strip on the bottom right, then worked my way around.
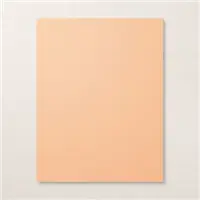
To create the center layer I stamped the flower image in Night of Navy Ink on the 1-3/4″ x 3″ Basic White CS. Then adhered it to the 1-7/8″ x 3-1/8″ Payle Papaya CS layer, before adding it to the card.
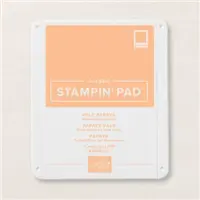
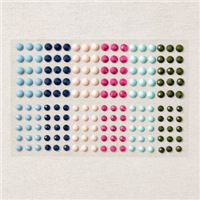
Next I stamped the label in Payle Papaya and punch it out with the Lasting Label punch. Using Stampin’ Dimensionals I added it to the front of my card. Then I added a few of the shiny new Solid Faceted Gems.

Don’t forget to dress up the inside of your card!
I cut a 3/4″ x 5-1/4″ strip of DSP and adhere it to the Basic White Cardstock, then stamped the fancy swirl in Night of Navy.

Thanks so much for stopping by today!
As mentioned at the top, this is a blog hop so make sure you ‘hop’ around to all the amazing projects on this hop! Click on the links below to visit them.
Do you need any of the products used on my project? See the product list below, simply check any of the images to shop.
Lovely & Lasting Thank You Card Measurements:
- Cardbase: 5-1/2″ x 8-1/2″, score in half at 4-1/4″
- DSP: (2) 1″ x 3″ (pay attention to the direction of the DSP when cutting)
- DSP: (2) 1″ x 4-1/4″ (pay attention to the direction of the DSP when cutting)
- Whisper White CS for Center: 1-3/4″ x 3″
- Color CS for Center: 1-7/8″ x 3-1/8″
- Whisper White CS for Inside: 4″ x 5-1/4″
- DSP for Inside: 3/4″ x 5-1/4″
All the Stampin’ Up! supplies used to make my card are available in my online store. Simply click any of the product photos below!
Happy Stamping!







I LOVE this card! Such a great and simple layout! Thanks for sharing …. I’m definitely going to be CASE’ing this ❤
Thank you Denise, I’m so glad you enjoyed my cards and the layout.
Love the fact that you broke this busy paper up. Great layout!
Thank you so much Robbie!
Well you have convinced me that I need your stamp set and the DSP. Lovely card!
Thank you so much! I’m glad I was able to help you decide, I think you’ll love it! 🙂
These cards are so pretty Wendy x
Thank you!
Lovely card Wendy along with the great layout & use of the papers.
Thanks so much Vicky!
Love how you used the DSP!
Thank You so much!
Gosh, how pretty!
Thank you so much!
Gorgeous Layout! I think this paper is on top of my list now!
Thank you so much!
Love these DSP’s and cards! Thank you Wendy for taking part in our Demonstrator Training Bog Hop this month!
Thank you Kylie!