Home for the Holidays & An Olive Story

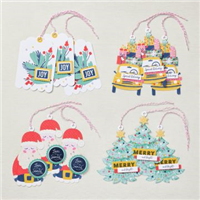
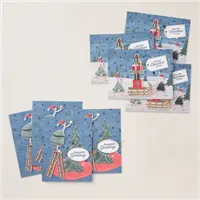
I am excited to share the Home for the Holidays Paper Pumpkin kit with you today!! I had a chance to sit down and create these colorful holiday cards.
I really wanted to do an unboxing video of this adorable Paper Pumpkin Kit – Home for the Holidays, however, Olive had other ideas.

Olive is my Treeing Walker Coonhound, and she is usually sleeping next to my desk when I’m crafting. I setup my lighting, my phone to record the video and got the video started. I was halfway through creating the first card when she woke up. She smelled the stinky skunk outside and insisted on investigating. After investigating she was ready to get back in her bed when she started to reverse sneeze. If you’ve never heard a dog reverse sneeze its quite alarming the first time. By this time she settled back down at least 45 minutes had passed and it was getting late so I stopped recording for the evening.
Fast foward a week, I tried again to record a video for you and guess what?? Yup, it happened again. Olive woke up and insisted on sniffing all around the desk, nudging my arm to make her presense known and decided she needed to go out to sniff the air. I’m still working on editing the video and I hope it’s useable.
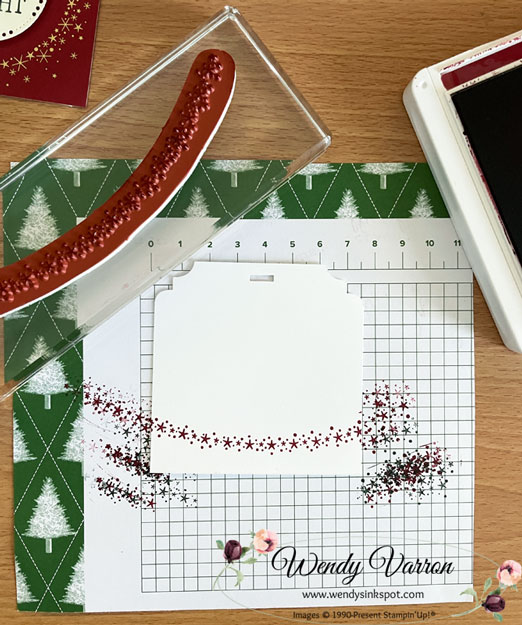
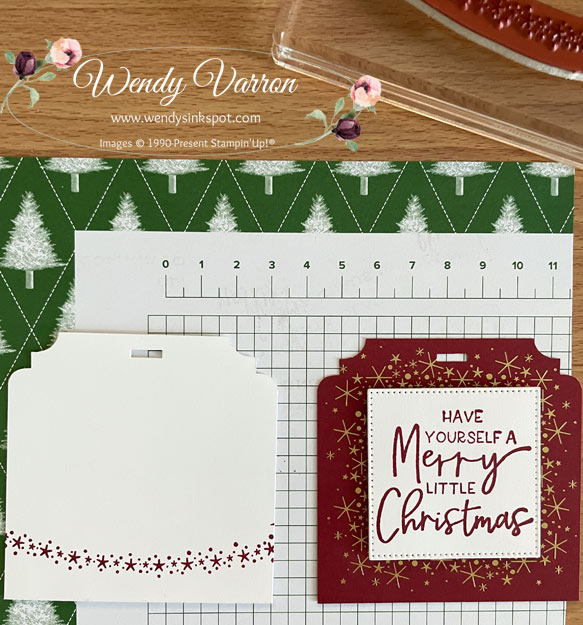
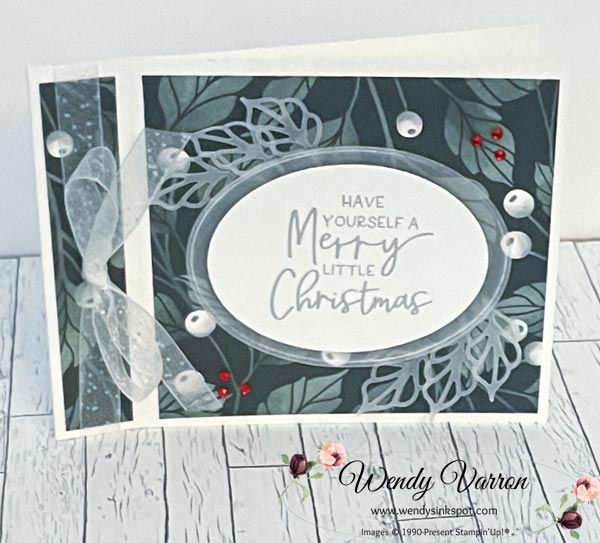
I didnt want to wait any longer to share the cards with you. They are so cute and easy to create. My favorite element in this kit is the glitter glue. It adds a subtle touch of sparkle, and I do love a little sparkle. These cards have lots of vibrant color and dimension too. Aren’t they cute?!


Paper Pumpkin Case Insert
You can download and print the Home for the Holidays Paper Pumpkin Case Insert created by Paper Pumpkin by Stampin’ Up! The insert fit in the Standard Stamp Cases which are available in the online store. Click Here to shop. Click the image below to download.

Refill Kit:
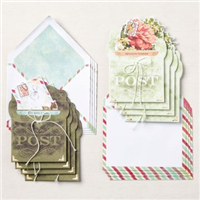
Great news! There are refill kits available! If you are a Paper Pumpkin subscriber you are able to purchase refills of this colorful kit and the refill includes glitter glue! If you want to create more of these cards or create your own cards with the element in the refill kit get them soon, they are only available while supplies last! Please note that refill kits do not include stamps or an ink spot.

Refill Kit Contents:
* 8 printed card bases: 4 each of 2 designs
* Folded card size: 5-1/2″ x 4-1/4″
* 8 printed envelopes
* Precut paper pieces
* Adhesive
* Glitter glue
**Refills Do Not Include Stamps or Ink Spot
November Paper Pumpkin Kit Coordination
Don’t let the Christmas crafts end once you finish with this kit! The Home for the Holidays Kit coordinates perfectly with the November Paper Pumpkin Kit, you will be able to extend your holiday crafting experience even further. Be sure to subscribe by clicking the link below!
I love to read your comments. To leave a comment please Click Here
Happy Stamping!

Home for the Holidays & An Olive Story Read More »