
A Cup of Tea with Glimmer
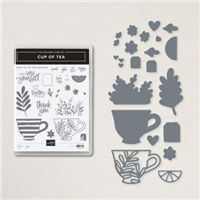
The Cup of Tea Bundle is one of my favorite Bundles n the new Annual Catalog! As a lover of Tea this was at the top of my shopping list!

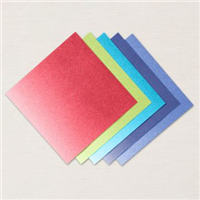
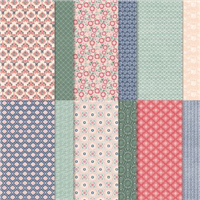
My card also features the 2022-2024 In Color 6’x6″ Glimmer Paper. If you haven’t tried it, Glimmer Paper is amazing! I love the shimmer it adds to my projects and its mess free! No traces of glitter all over my craft room!
To create this card I cut (2) 1/2″x 5-1/2″ strips of Starry Sky Glimmer Paper, and (2) 1/2″x5-1/2″ Parakeet Party Glimmer Paper. I adhered them to the Basic White cardbase with Multipurpose Liquid Glue.


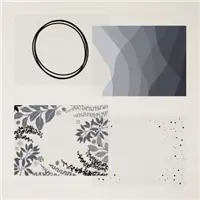
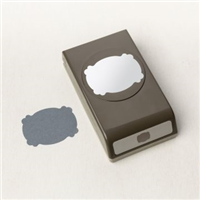
I die cut a stitched circle in Vellum with the Stylish Shapes Dies. Using Tear & Tape I added a strip of White glittered Organdy Ribbon. I added another strip of Tear & Tape over the ribbon to add it to my cardbase.

Then using an Adhesive Sheet added to the back of some Parakeet Party Glimmer Paper, I die cut the leaf tea cup. I die cut the sold Tea Cup in Starry Sky Glimmer Paper. This made adding the Parakeet Party Tea Cup to the Starry Sky tea cup super quick and easy. I attached the tea cup to the Vellum Circle with Foam Adhesive Sheet cut to fit the cup.

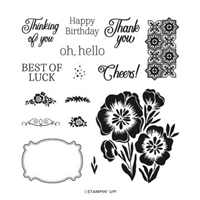
To finish my card, I stamped 2 tea tags in Starry Sky and Parakeet Party and die cut them. I tied some Basic White Bakers Twine to my card and left 2 long tales at the top. Using Glue dots I attached the tags to them. I added these cute die cut hearts to the back of the tags with another glue dot.

Cup of Tea with Glimmer Card Measurements:
- Basic White Thick Cardstock Base: 5-1/2″ x 8-1/2″, score in half at 4-1/4″
- Starry Sky Glimmer Paper Strip: (2) 1/2″ x 5-1/2″
- Parakeet Party Glimmer Paper Strip: (2) 1/2″ x 5-1/2″
I’d love to be your Stampin’ Up!® Demonstrator. All the Stampin’ Up! supplies used to make my card are available in my online store. Simply click any of the product photos below!


Happy Stamping!


")


